Pages

Friday, April 12, 2013

Wheat Bread (not 100%)


I baked this yesterday before the Peachy Cream Cake. I wanted to bake wheat bread for a long time, just didn't come to it. We finally bought one bag of whole wheat flour this week. I was told and also read somewhere that whole wheat contains vitamins, minerals and carbohydrates that help maintain good health. Whole wheat tends to taste a bit bitter. For people who do not like the bitter taste, some chefs suggested adding some orange juice... On the package of the whole wheat flour that we bought, it mentioned that the whole wheat flour can be incorporated with all purpose flour. They suggest starting at 25% and then working your way up to 50% of the total flour required.

Since we have bread often this is one of the ways to get whole grain into our diet. This recipe is based on my Sour Cream Bread recipe. I replaced some ingredients and added new ones. The end result is a surprise, the texture is softer than the Sour Cream Bread. Other than the ingredients, the method of making this bread is the same as the Sour Cream Bread. (for the Sour Cream Bread click here) This recipe will be a regular in our menu.


2 1/2 cups all purpose flour, more for dusting
1 1/4 cups whole wheat Flour
1/2 cup potato flakes
2 tsp yeast

1/4 cup molasses, maple syrup or honey
1/4 cup sour cream
1/4 cup olive oil
All of the tongzhang/roax
(click here for the tongzhang/roax recipe)

1 tsp salt

A non stick 5" x 11" bread pan 


Set bread machine on dough function. Place all wet ingredients into the bread pan: Molasses (or maple syrup or honey), sour cream, olive oil and tongzhang/roax. Follow with the dry ingredients except salt: All purpose flour, wheat flour and potato flakes. Make a small well in the middle of the flour and add yeast, lastly place salt at one corner of the pan and press start.


Note: Salt is placed at one corner because it affects the reaction of the yeast. I have learned the hard way. I added the salt too close or together with the yeast, the dough either did not rise or rose very little.

Use less liquid in Summer and more in Winter. I always check the dough after 4 to 5 minutes of kneading. If the dough does not stick to your fingers, it is too dry, so add more milk or water, 1 tbsp at a time. If it is too sticky add more flour, also 1 tbsp at a time.
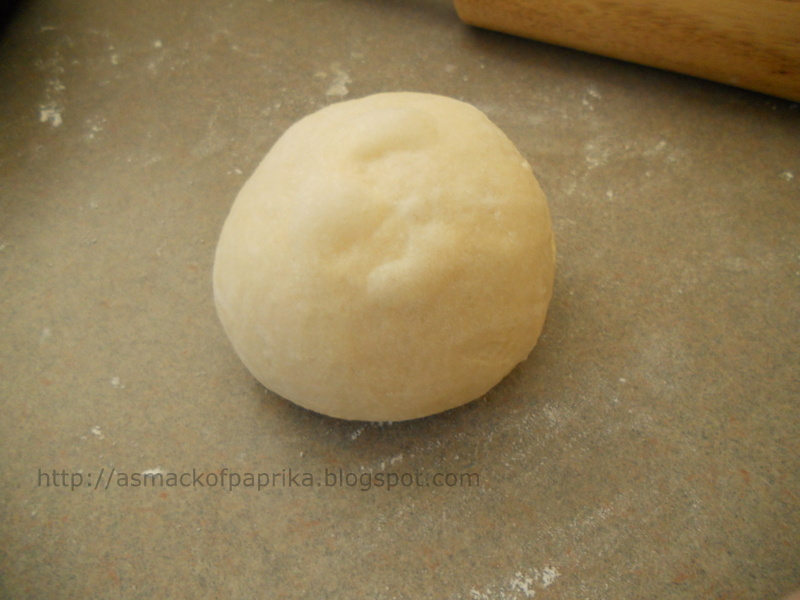
 
The dough should be sticky when it is ready (about an hour), dust counter top with a little flour, remove the dough from the bread pan, divide into 2 portions and roll the dough into balls by hand. (see picture on the right)


Use a roller pin and roll the dough into a rectangular shape. (see picture on the left) 


Roll up the dough from one end to the other, use your fingers to pinch the end of the dough together and place into the bread pan with seam side down.

Let rest for an hour or until the dough rises to double the original size. 

Preheat oven to 350 °F and bake for 30 minutes or until the food kitchen thermometer reaches 160°F. Remove from the bread pan and let cool. Serve warm or cool.


Thursday, April 11, 2013

Peachy Cream Coffee Cake


I have to bake bread today and since the oven will be heated up, I want to bake something right after that to save energy. In my fridge you can always find sour cream. I love adding sour cream into many of my recipes.  I also wanted to use up the left over cream cheese in the fridge. So I came up with this recipe and it is easy to make. The name Peachy Cream Coffee Cake was given by my husband. 


1 cup all purpose flour
1 tsp baking powder
1/2 tsp baking soda
1/4 tsp salt


2/3 cups sugar
4 tbsp (1/2 stick) unsalted butter, room temperature
1/4 tsp salt
1/2 tsp vanilla
1 egg
1/4 cup sour cream
1/4 cup (2oz) cream cheese
1 can (15.25oz) sliced peaches
2 tbsp peach syrup(from the can of peaches)


Preheat oven to 400°F, line the bottom of a 9" cake pan with parchment paper and set aside.


In a medium bowl mix together all purpose flour, baking powder, baking soda, salt and set aside.


In a medium mixing bowl, beat butter, cream cheese and sugar until light and creamy, add egg and vanilla. Beat until well combined. For this part of the mixing I use a spatula. Gently add flour mixture into the batter in three batches alternating with sour cream and peach syrup, beginning and ending with the flour mixture. Do not over mix or your cake will become tough. Spread batter evenly in the cake pan and arrange the sliced peaches on top. 

 
Bake for 25 minutes or until the wooden pick inserted in the center comes out clean. Serve once it is cooled. 

Wednesday, April 3, 2013

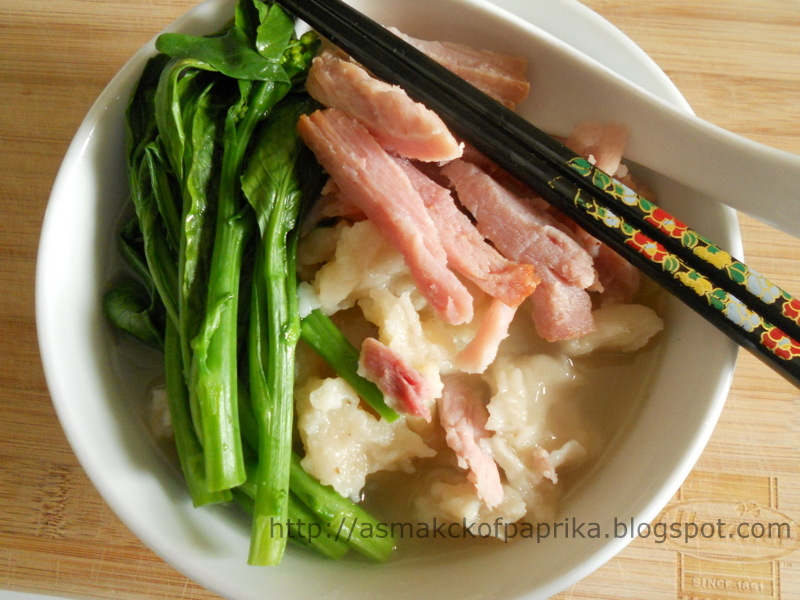
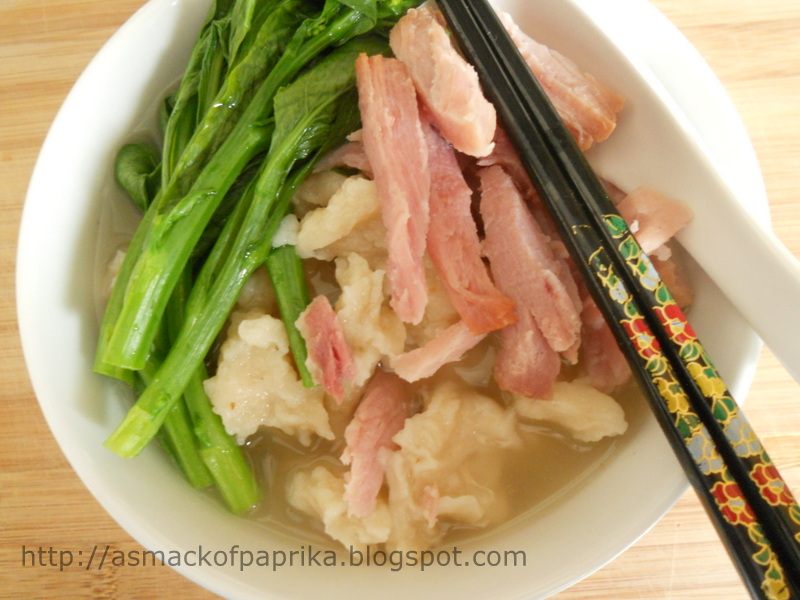
Smoked Ham with Hand Pulled Pan Mee (flour noodle)

Today is the third day after Easter. We still have some left over ham, after 3 days of having the same food for dinner..... mama mia today must change.  I wanted something soupy and I thought of this. This is an easy and simple meal and I hope you like it!

Dough ingredients:
280 gm all purpose flour
3/4 cup water
1/2 tsp salt
1 tbsp oil


For the Soup:

4 cups chicken stock
Smoked ham, shredded
Asian green mustard or any vegetable you like
Salt to taste (you might not need salt as the ham is salty)


In a bread machine pan add all dough ingredients: All purpose flour, water, salt and oil. Set the machine on dough function and let it knead until all ingredients are well combined and the texture is smooth. Cover with a damp cloth and let rest for at least 15 minutes. You can make this a day before, wrap the dough in a Ziploc bag and refrigerate it.

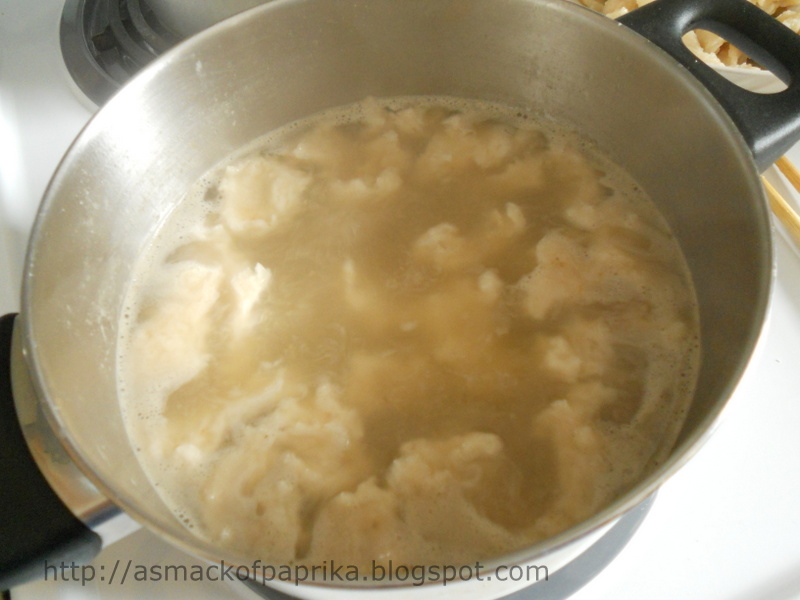
Bring chicken stock to a boil in a medium size stock pan. Use your fingers to pull apart the dough into small pieces and drop them into the boiling stock. (The dough should be a little sticky)
 
The uncooked dough will sink to the bottom. Once it is cooked it will float to the top. (See picture on the left, the cooked ones are floating on the top, and the uncooked ones are at the bottom), scoop up the cooked dough and place in a big bowl. Continue pulling, dropping and cooking the rest of the dough in the stock until finished.


Next, add all the ham into the stock, cook for a couple of minutes and put in all the vegetables. Once the vegetables turn dark green, it is ready. Add salt to taste (please remember the ham is salty, you might not even need salt). Place the pan mee in a  serving bowl, pour the soup onto it and top with the ham and vegetables. Serve warm.

Tuesday, April 2, 2013

Sour Cream Bread

We both love bread and I bake this one often. I have baked many different types of bread. Most of the bread drys up very quickly, even though I added potato flakes (some chefs says potatoes can keep the bread moist) and store them in an airtight container. Until one day I tried the Japanese Hokkaido Bread, which uses tongzhang/roax, (a mixture of water and flour which helps to keep the bread moist-see below), and I really like it. It keeps the bread moist longer and the texture softer, just the way I want it. Since I bake very often, I want to use ingredients that I always have on hand, like sour cream, butter, fresh milk... and I have created this recipe by using what I always have in my kitchen pantry. This recipe is for my niece, G who also loves bread like me.

3 1/2 cups bread flour (more for dusting)
2/4 cup potatoes flakes
1/3 cup sugar
2 tsp milk powder (optional)
2 tsp instant yeast

1 egg, beaten
1/4 cup fresh milk (can replace with sour cream)
1/4 cup sour cream 
All of the tongzhang/roax
(Tongzhang recipe is below)

3 tbsp unsalted butter, melted

1 full tsp salt


A non stick 5" x 11" bread pan


Method of cooking thonzhang/roax:

1 cup water or fresh milk
1/3 cup all purpose flour

In a small saucepan, whisk together water and all purpose flour. Whisk until well combined and cook on a stove on medium heat, stirring from time to time until the temperature reaches 150°F. Remove from heat, cover with lid and leave to cool.

Note: You have to stir more frequently towards the end to avoid the bottom getting burned.


Method of making bread :

Set bread machine on dough function. Placed all wet ingredients into the bread pan: egg, fresh milk, sour cream, butter and thonzhang/roax, follow with the dry ingredients except salt: bread flour, potato flakes, sugar and milk powder. Make a small well in the middle of the flour and add yeast, lastly place salt at one corner of the pan and press start. 

Note: 

Salt is placed at one corner because it affects the reaction of the yeast. I have learned the hard way. I added the salt too close or together with the yeast, the dough either did not rise or rose very little. Imagine eating a no-yeast bread!!!

Use less liquid in Summer and more in Winter. I always check the dough after 4 to 5 minutes of kneading. If the dough does not stick to your fingers, it is too dry, so add more milk or water, 1 tbsp at a time. If it is too sticky add more flour, also 1 tbsp at a time.

 
The dough should be sticky when it is ready (about an hour), dust counter top with a little flour, remove the dough from the bread pan, divide into 3 portions and roll the dough into balls by hand. (see picture on the right)


Use a roller pin and roll the dough into a rectangular shape. (see picture on the left) 


Roll up the dough from one end to the other (see picture on the left below), use your fingers to pinch the end of the dough together and place into the bread pan with seam side down.


Let rest for an hour or until the dough rises to double the original size. (See picture on the right below)


Preheat oven to 350 °F and bake for 30 minutes or until the food kitchen thermometer reaches 160°F. Remove from the bread pan and let cool. Serve warm or cool.


Friday, March 1, 2013

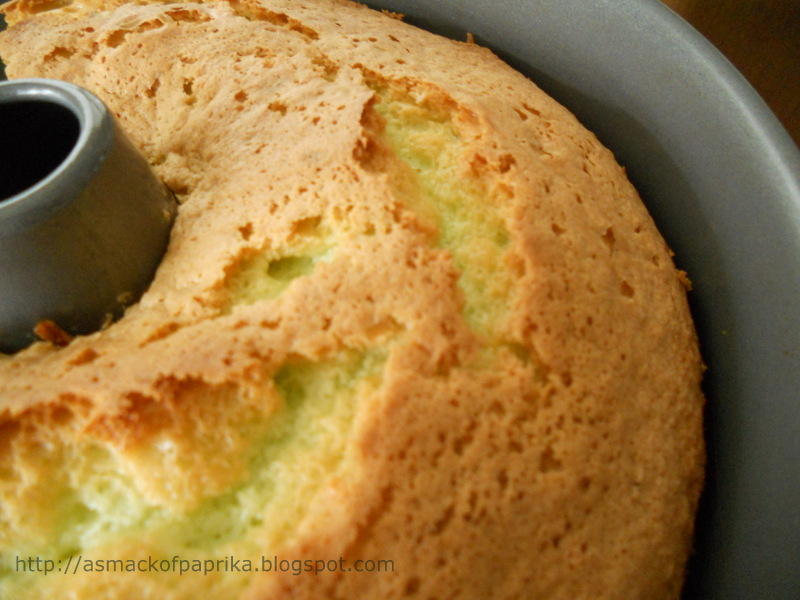
Pandan Chiffon Cake


This is one of my favorite childhood cakes. In those days we did not have an electric cake mixer and my mum used a giant spring/pump whisk to pump the egg whites, one of my brothers always standing by to help her. It needs a lot of energy to pump up the egg whites and sugar. We finished the cake within minutes and she never had a chance to get a second piece. A couple of years later my dad bought her a Kenwood stand mixer, not sure why she didn't use it to make this recipe. It is difficult to find this cake in Charlotte. I have seen it once in a Asian grocery store but the store is very far from us. Anyway, this is not difficult to make.

 
2 1/2 cups cake flour
1/2 tsp Salt
1 1/3 cup sugar, separated. (take 1/2 cup from here for whisking egg whites)
1/2 cup vegetable oil
3/4 cup coconut cream
5 Egg yolks
1/4 tsp Pandan essence


7 Egg whites
1/2 cup Sugar (take from the 1 1/3cup above) 
1/2 tsp Cream tartar

1 tbsp baking powder


Preheat oven to 350°F. Lightly grease a 9 1/2" round tube pan.

In a big mixing bowl, mix together the first group of ingredients: cake flour, salt, sugar, coconut cream, egg yolks, pandan essence and set aside.

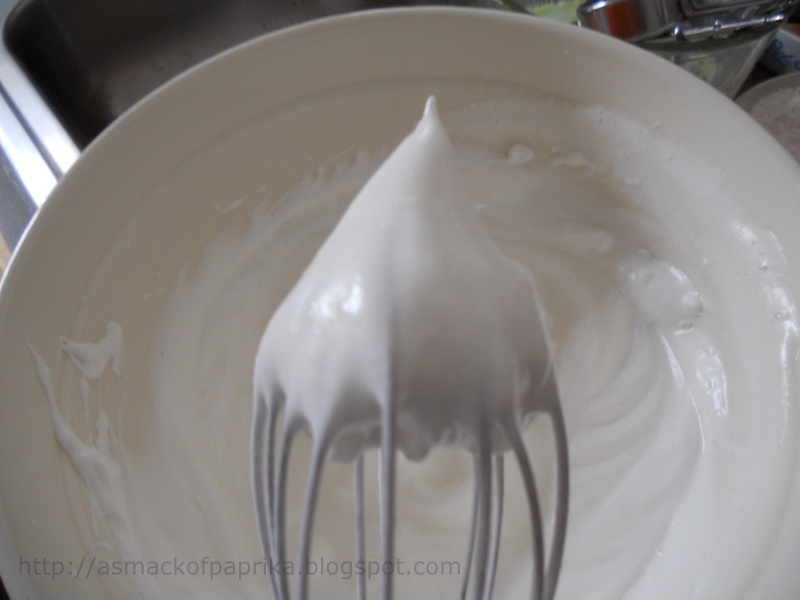
In another medium bowl, whisk egg whites and cream of tartar on medium speed until foamy,  gradually increase the speed and add in the sugar in 3 to 4 portions , beat until the egg whites form a stiff peak on the whisk (see picture on the right), about 5 minutes and set aside. 


Add the baking powder into the pandan batter and mix well.  
Now you have to work quickly but gently. Pour 1/3 of the egg whites into the pandan batter, mix well with a spatula, gently pour in the rest of the egg whites and mix until just combined. At this point you can see many bubbles in the batter, the baking power has started to work. Over mixing will let out a lot of air and the cake will not rise and will become hard. 


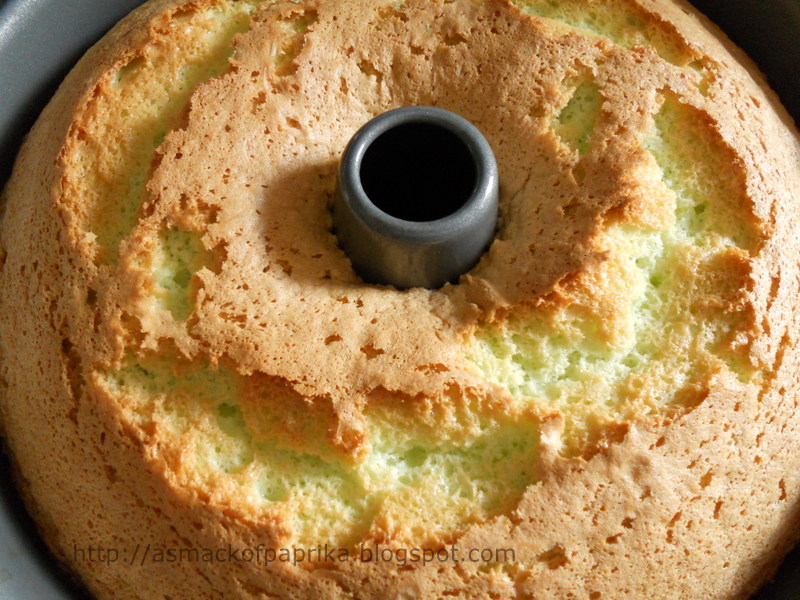
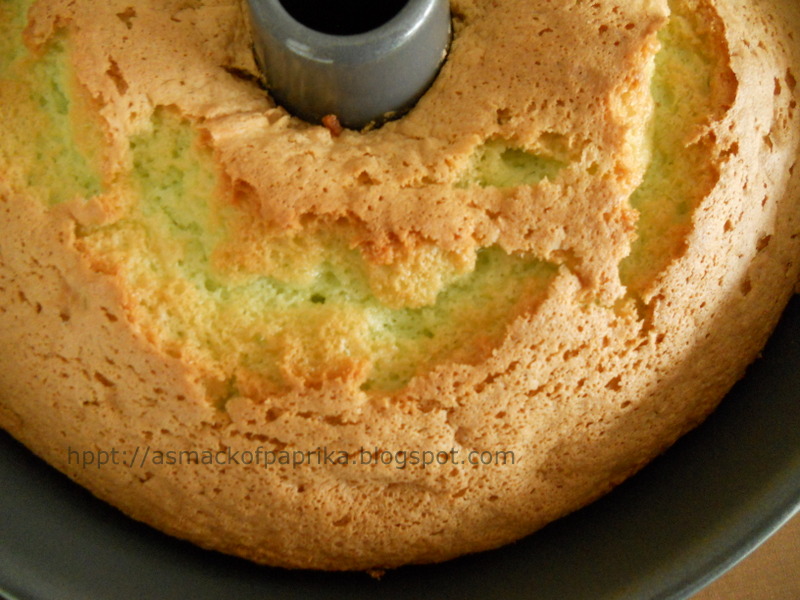
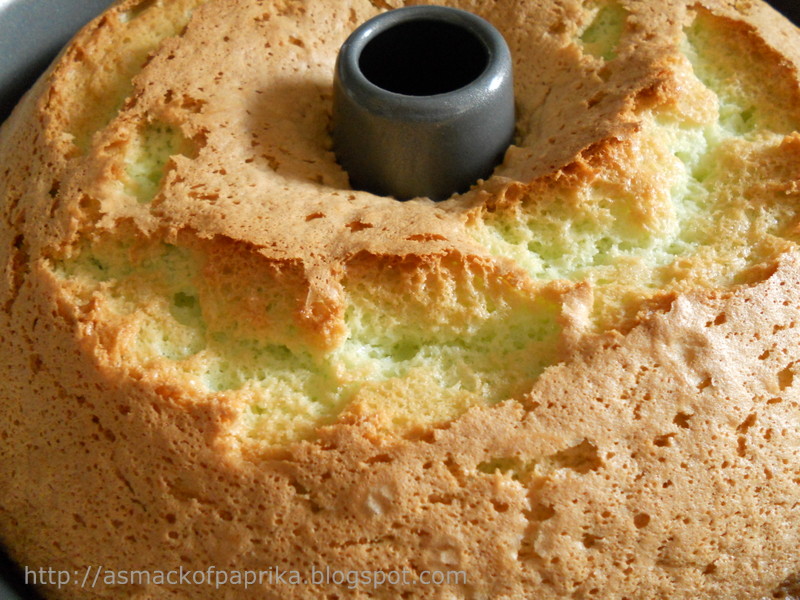
Bake for 45 minutes to 1 hour or until the cake tester inserted into the thickest part comes out clear.  Serve once it is cooled.

Note: I noticed the baking powder starts to work almost immediately once it is added into the pandan batter, that is why I add it after the egg white is ready. This is to prevent the cake from rising unevenly. (Spongy top and hard bottom)

Thursday, February 28, 2013

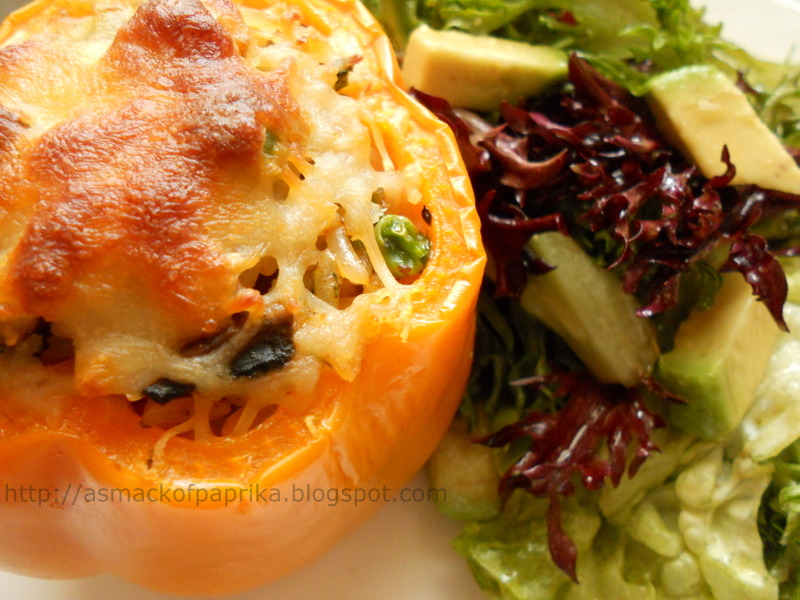
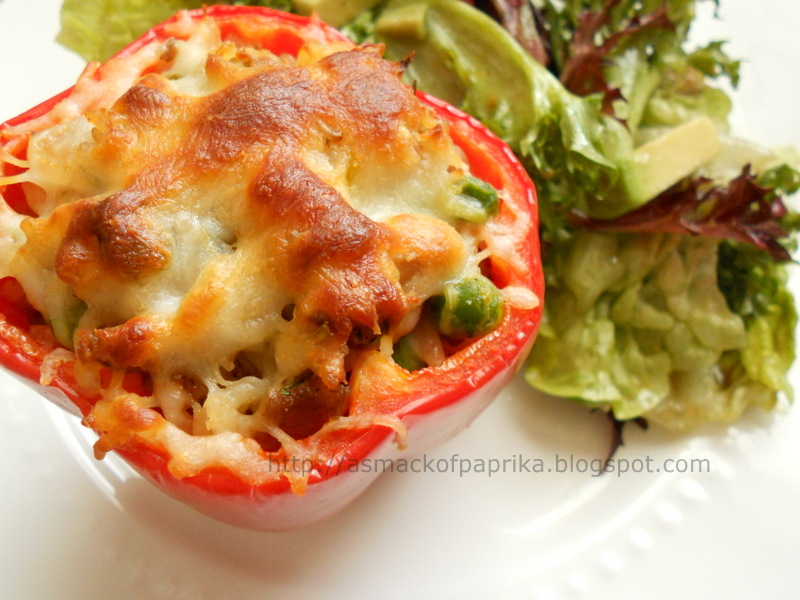
Cajun Chicken and Mushroom Stuffed Bell Peppers


We stopped in Pittsburgh PA on our way back from TorontoThis city is also known as The Iron City and is the country's largest inland port. There are many things that interested us to make the stop. Other than the historical side, this is also the city of three rivers, the Allegheny and Monongahela rivers join to form the Ohio River.

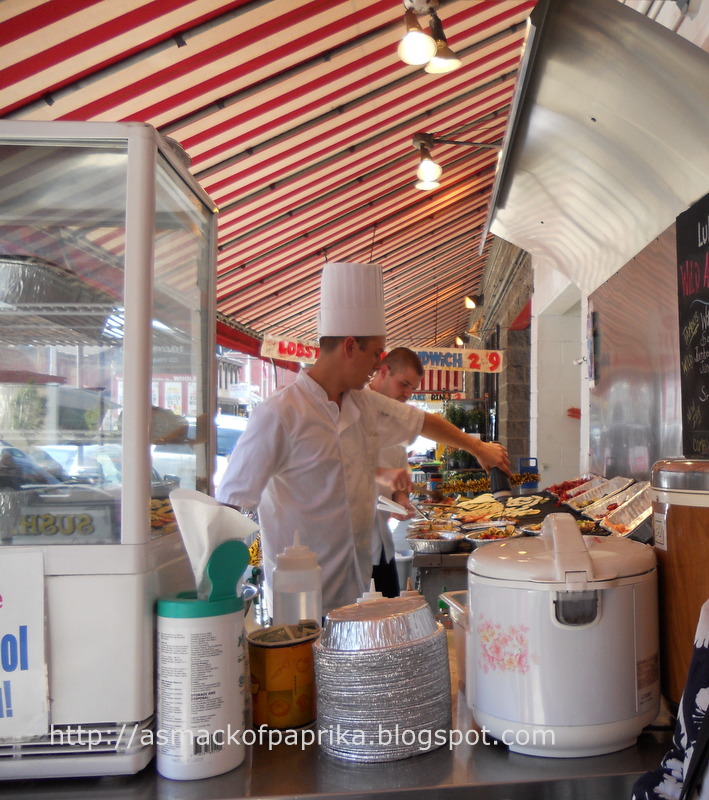
There are many fresh markets and restaurants there. You will also find many old shops selling souvenirs, kitchen utensils, Asian groceries, herbs and spices from many different nationalities. I was especially attracted to one Italian grocery shop. The minute we stepped into the store, the aroma from the spices really enticed me. They have many freshly ground spices, baked Italian bread, cheeses, cured meats like ham, salami, Porchetta... all kind of nuts, fresh meats, vegetables etc. Their spices are stored in big containers and it is sold by weight. I was busy at the sample section!


The taste of their freshly baked  bread goes with the olive oil, the cheeses and not to forget the cured meat, mmm mmmm mmm! It is unforgettable. The shop has been there for over a  hundred years  and this is my kind of shop.


That afternoon, we had Mediterranean food for lunch, the food was barbecued right in the front of the restaurant and it was delicious. Their dinning area is nicely air conditioned. 

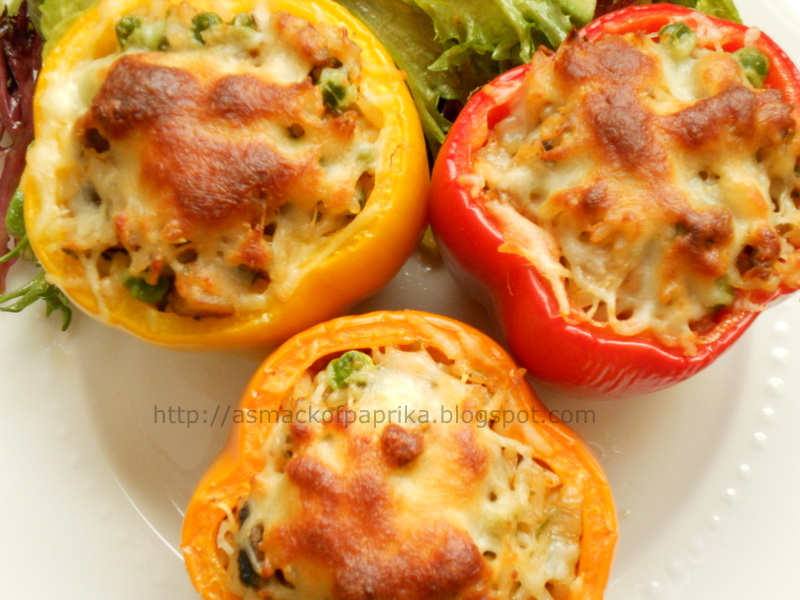
Now back to cooking. One of the spices that we bought is Cajun. I have used it mostly on chicken and fish. Today I used it on chicken, mushrooms and rice and here is the recipe.


4 large Bell Peppers, cut off the top and remove the seeds

For the filling:

1 cup Fresh chicken meat, cut into cubes  
1 tbsp Cajun Spice
1/4 tsp salt, omit this if the Cajun Spice has salt 
1 tsp red Spanish Wine

1 medium size Onion, chopped
3 large Button Mushrooms, cut into big pieces
2 cups Cooked Rice
1/3 cup frozen Green Peas 
1/4 cup Cilantro, chopped
1/4 cup Shredded Cheese
1/4 cup water 

1 tbsp butter
1 tbsp oil

Salt to taste

Wash bell peppers with cold running water, cut off the top of the bell peppers, remove seeds and core. Dry with paper towel and set aside.

Marinate the chicken with cajun spice, salt, red wine and set aside. 

Heat a frying pan on medium high heat. Add in 1 tbsp oil and 1tbsp butter, stir in the chopped onion. Once it starts to get translucent add mushrooms, stir for about 2 minutes then add chicken and saute until it is fully cooked (no more pink), pour in the cooked rice and green peas, stir and cover with lid for about 3 to 5 minutes. Remove the lid, add salt and chopped cilantro, mix well and they are ready to stuff into the bell peppers. 


Preheat oven to 350 F.  Spoon the cooked chicken rice into the bell peppers, top with cheese and place into a baking pan/dish. Add 1/4 cup of water into
the pan and bake for 30 minutes. 

Serve warm with salad.


Monday, February 25, 2013

Keropok / Lekor my way (fried fish snack)

One of the snacks I miss very much from Malaysia is Lekor or Keropok (fried fish snack).  It takes a long time and a lot of work to make this the traditional way, plus I have never seen sago flour at the local Asian markets. This is fast and easy. Hope you like this.

1 cup All Purpose Flour (use a spoon and loosely sift the flour into the cup, do not press the flour into the cup, the measurement will be different)
1/2 tsp baking powder
1/4 full tsp salt 
1 can (5 oz/142 gm) tuna in water/oil
3 tbsp water

Oil for deep frying 


In a medium bowl, add together all purpose flour, baking powder and salt. Mix well and set aside.

*Separate tuna from water/oil. Pour the tuna meat into a small bowl, use a fork to mash it into small pieces and add into the flour mixture. Use your hand or fork to mix them together, it will be crumbly and dry. Once it is done, pour in the tuna water/oil and water, mix until just combined. Over mixing will cause the dough to be chewy. The dough will appear sticky. Let rest for 15 minutes.

Heat oil to 375°F. Scoop dough into the oil 1 teaspoon at a time and fry until golden brown, about 5 minutes, turning from time to time. Once done, remove the keropok from oil and drain on paper towels. Serve warm. 

*Note: Adding the tuna with its' water/oil together into the flour mixture required longer time to get it combined and the end result will be the keropok becoming chewy.

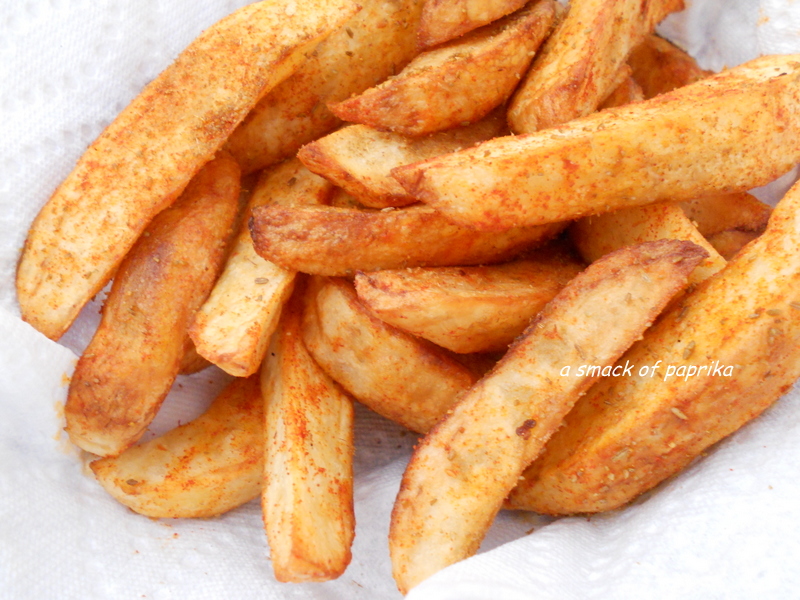
Pan Fried Potatoes with Paprika and Cumin


There are many definitions of Tapas. Generally, people know them as snacks, finger food or a light meal and can be served at any time of the day.  Tapas can be made by many different ingredients: ham, cheese, sausages, anchovies, eggs, nuts, vegetables and more. In Spain almost all the bars serve these. Usually they are displayed on the bar, the waiter will serve your selections on small plates. Every region has their own version/taste of Tapas.  It is something you should not miss when you visit Spain. This is one of the hundreds of recipes of Tapas, hope you like it.

3 tsp Paprika
1 tsp Ground Cumin
1/4 tsp Cayenne Pepper, optional if you don't like spicy
1/2 tsp Salt

I lb Yukon Gold potatoes

Oil for frying

In a small bowl, mix together the paprika, ground cumin, cayenne pepper, salt and set aside.

Peel, wash the potatoes and cut into wedges. Heat oil, add the potatoes in single layer and cook for about 10 minutes, turning from time to time until golden brown. Remove and drain the oil on paper towels. While the potatoes are still hot sprinkle with the spices and gently toss it until all sides are coated. Serve warm.

Friday, February 22, 2013

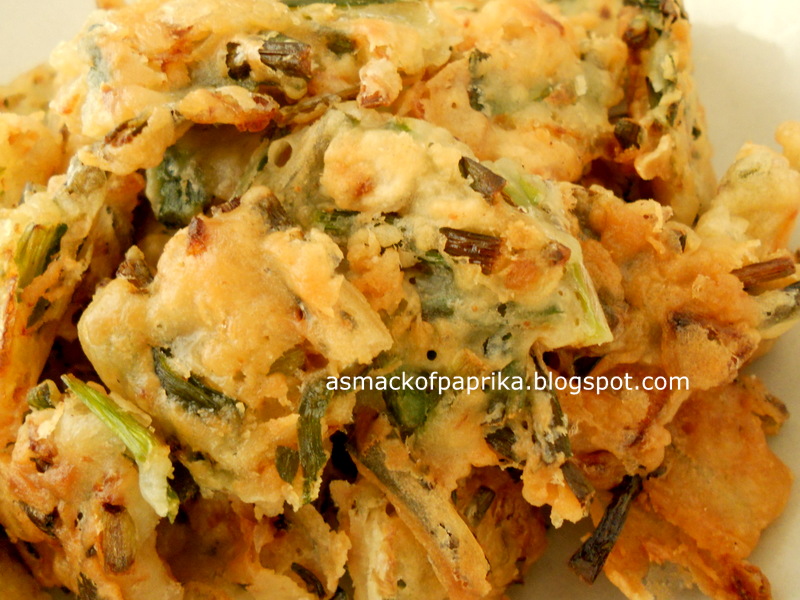
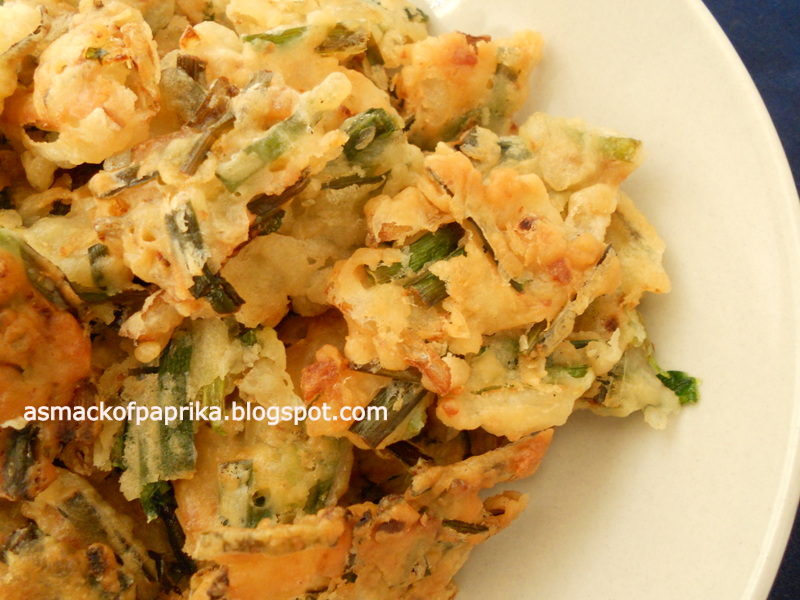
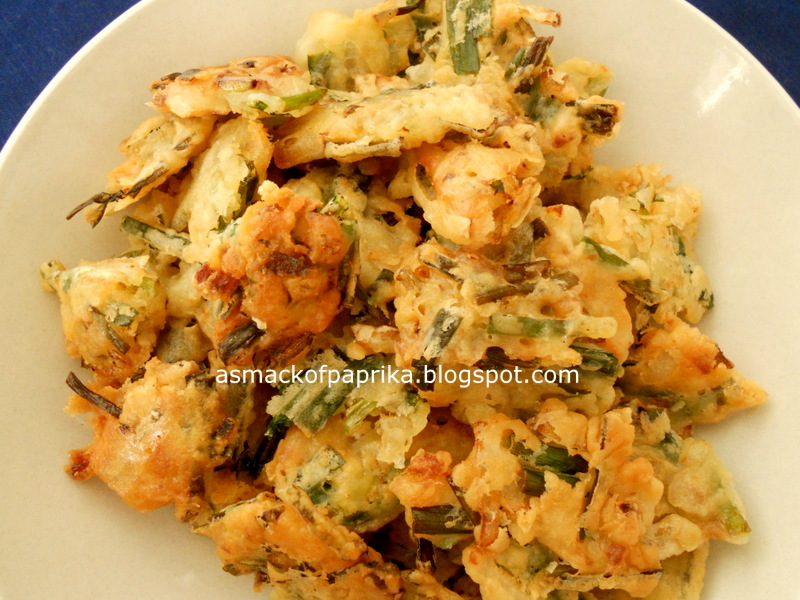
Fried Kow Choy 九菜 (Chinese Garlic Chives) with Shrimp


This is one of the afternoon snacks my mother made for us when we where young. It is also one of our favorites. You can replace the dried shrimp with shrimp or chicken bouillon. I bought the shrimp bouillon in a Mexican supermarket, the dried shrimps can be found there too. I bought mine in an Asian market. As for Chinese Garlic Chives most Asian supermarkets have it. I cannot cook this as often as I would like, as it will stink up the whole house, besides that it is not a health food.

2 cups all purpose flour
2/4 tsp baking power
2 tbsp dried shrimp, chopped
1/2 Ib Chinese Garlic Chives
1 small red onion, chopped
2 tsp salt, omit if using shrimp or chicken bouillon
1 cube shrimp or chicken bouillon, add more salt if not using this 

3/4 cups water

Oil for deep frying


Wash the Chinese Garlic Chives carefully, especially towards the white part of the leaves, to remove dirt. Cut into 1/2" length and set aside.

If you are using chicken or shrimp bouillon either melt it with warm water or use a knife to chop it into small pieces. I used a chef knife to chop.


In a big mixing bowl, mix together all the ingredients except water and oil: all purpose flour, baking powder, shrimp or chicken bouillon/salt and mix well. Then add water and stir until just combined. Do not over stir or the dough will become hard. Let rest for 15 minutes.

Heat oil to 375°F, scoop the batter one table spoon at a time into the hot oil and fry until golden brown. Serve warm. 

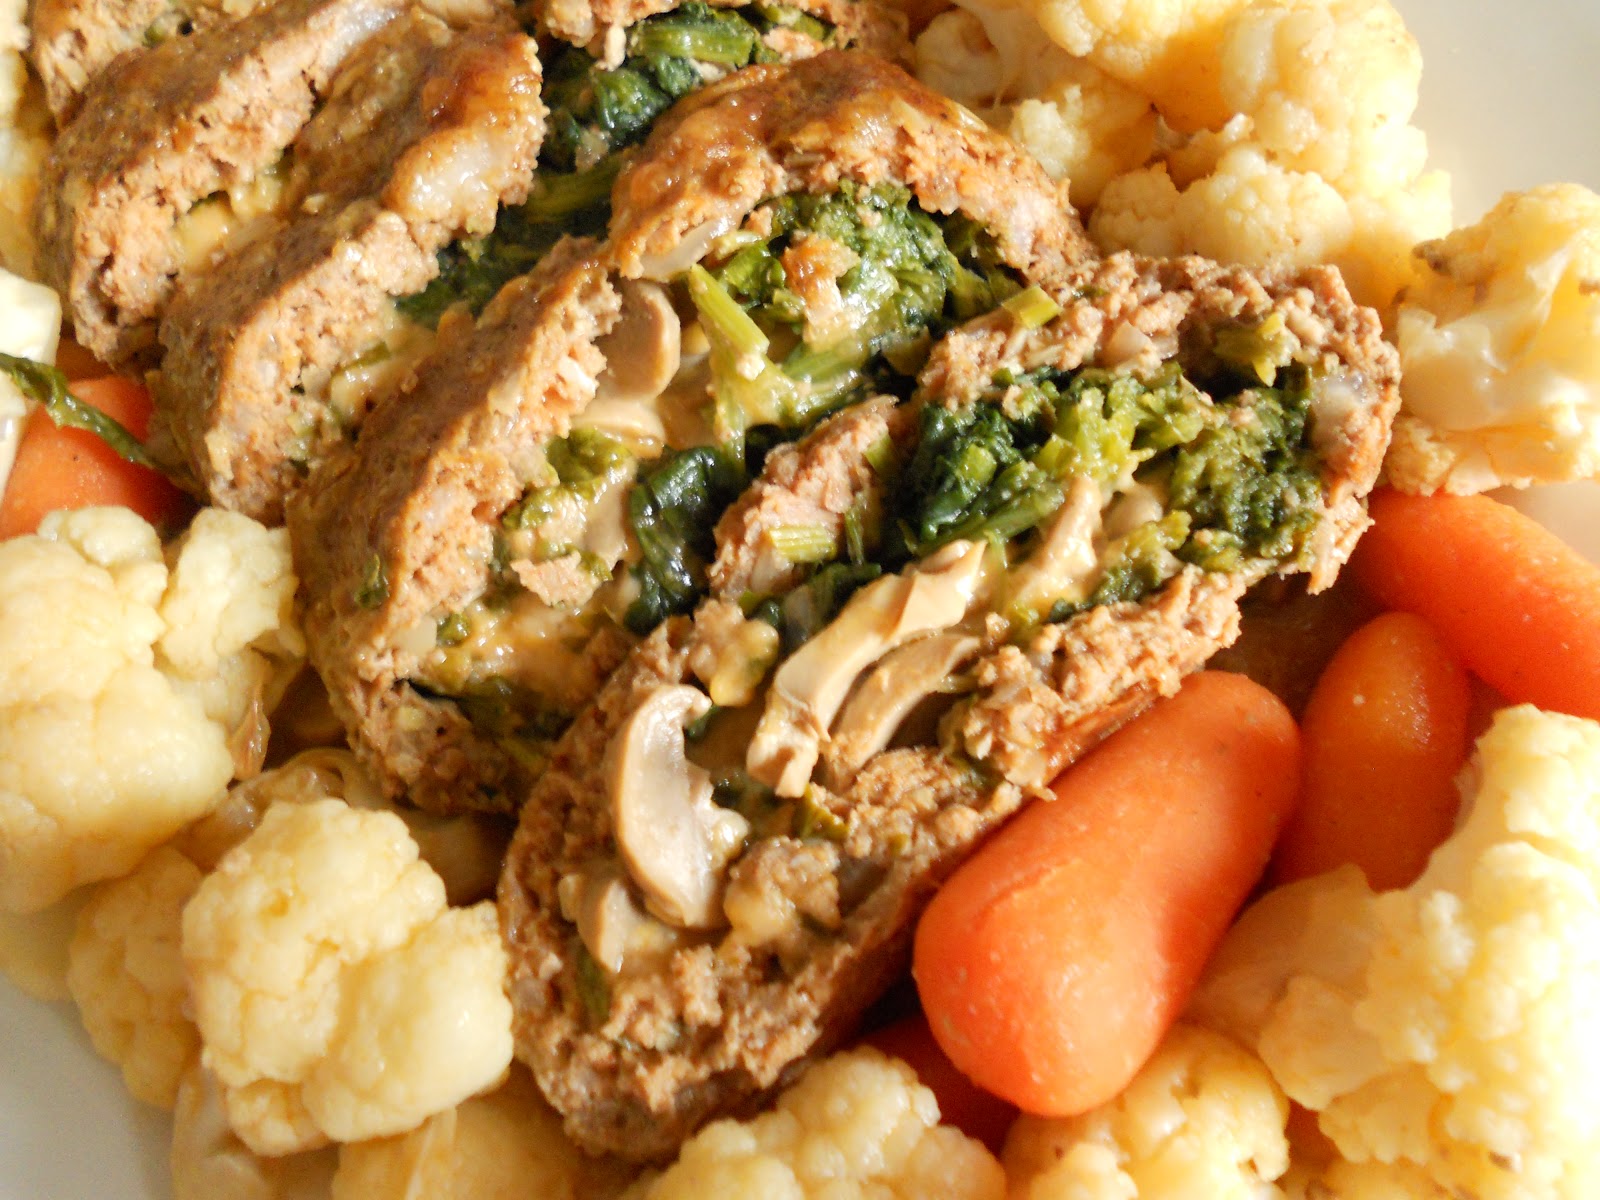
Meat Loaf stuffed with Spinach, Mushroom and Cheese

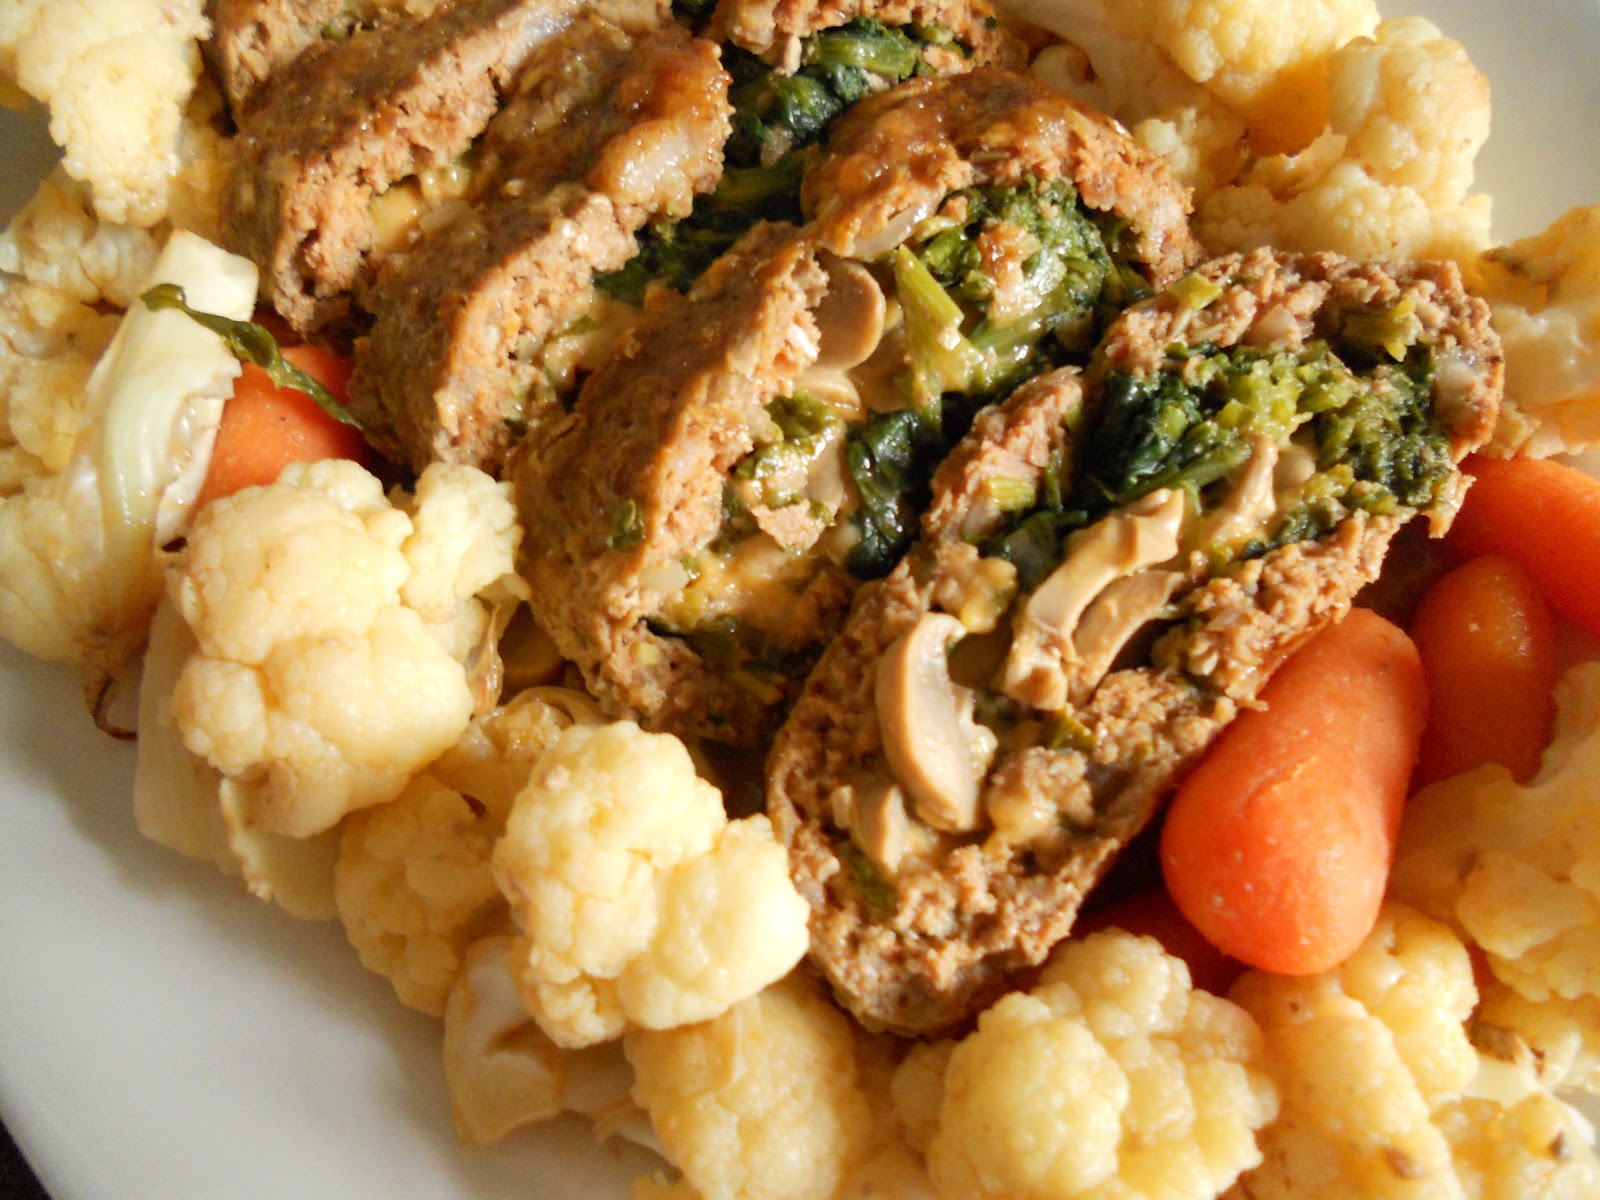
This is a "less-meat" meat loaf. Most meat loaf recipes that I read have no filling and are too meaty for me. So I had mine stuffed with vegetables and cheese, to reduce the amount of meat. We enjoyed this very much.

8 oz Pork, grounded
7 oz Beef, grounded
3 pieces Garlic, finely chopped
1 medium Onion, chopped
1 tsp Poultry Spice
1 tbsp Paprika
1 Egg, beaten
2 tsp Salt and pepper (do not add too much salt, as the cheese is salty)

1/4 cup Bread crumbs
3 tbsp Milk
 
1 cup Cheese, shredded (any cheese you like. I used Colby Jack)
1 cup fresh Spinach, chopped
1/2 cup fresh Parsley, coarsely chopped
1 can Mushroom, sliced 

I medium Cauliflower, cut into chunks
1 cup Baby carrots

Plastic food wrap

9" x 13" Baking pan 


In a small bowl mix together milk and bread crumbs and set aside. 

In a big bowl add the first group of the ingredients: pork, beef, garlic, onion, poultry spice, paprika, beaten egg and add the bread crumbs. Mix until just combined. Over mixing will make the meat hard.


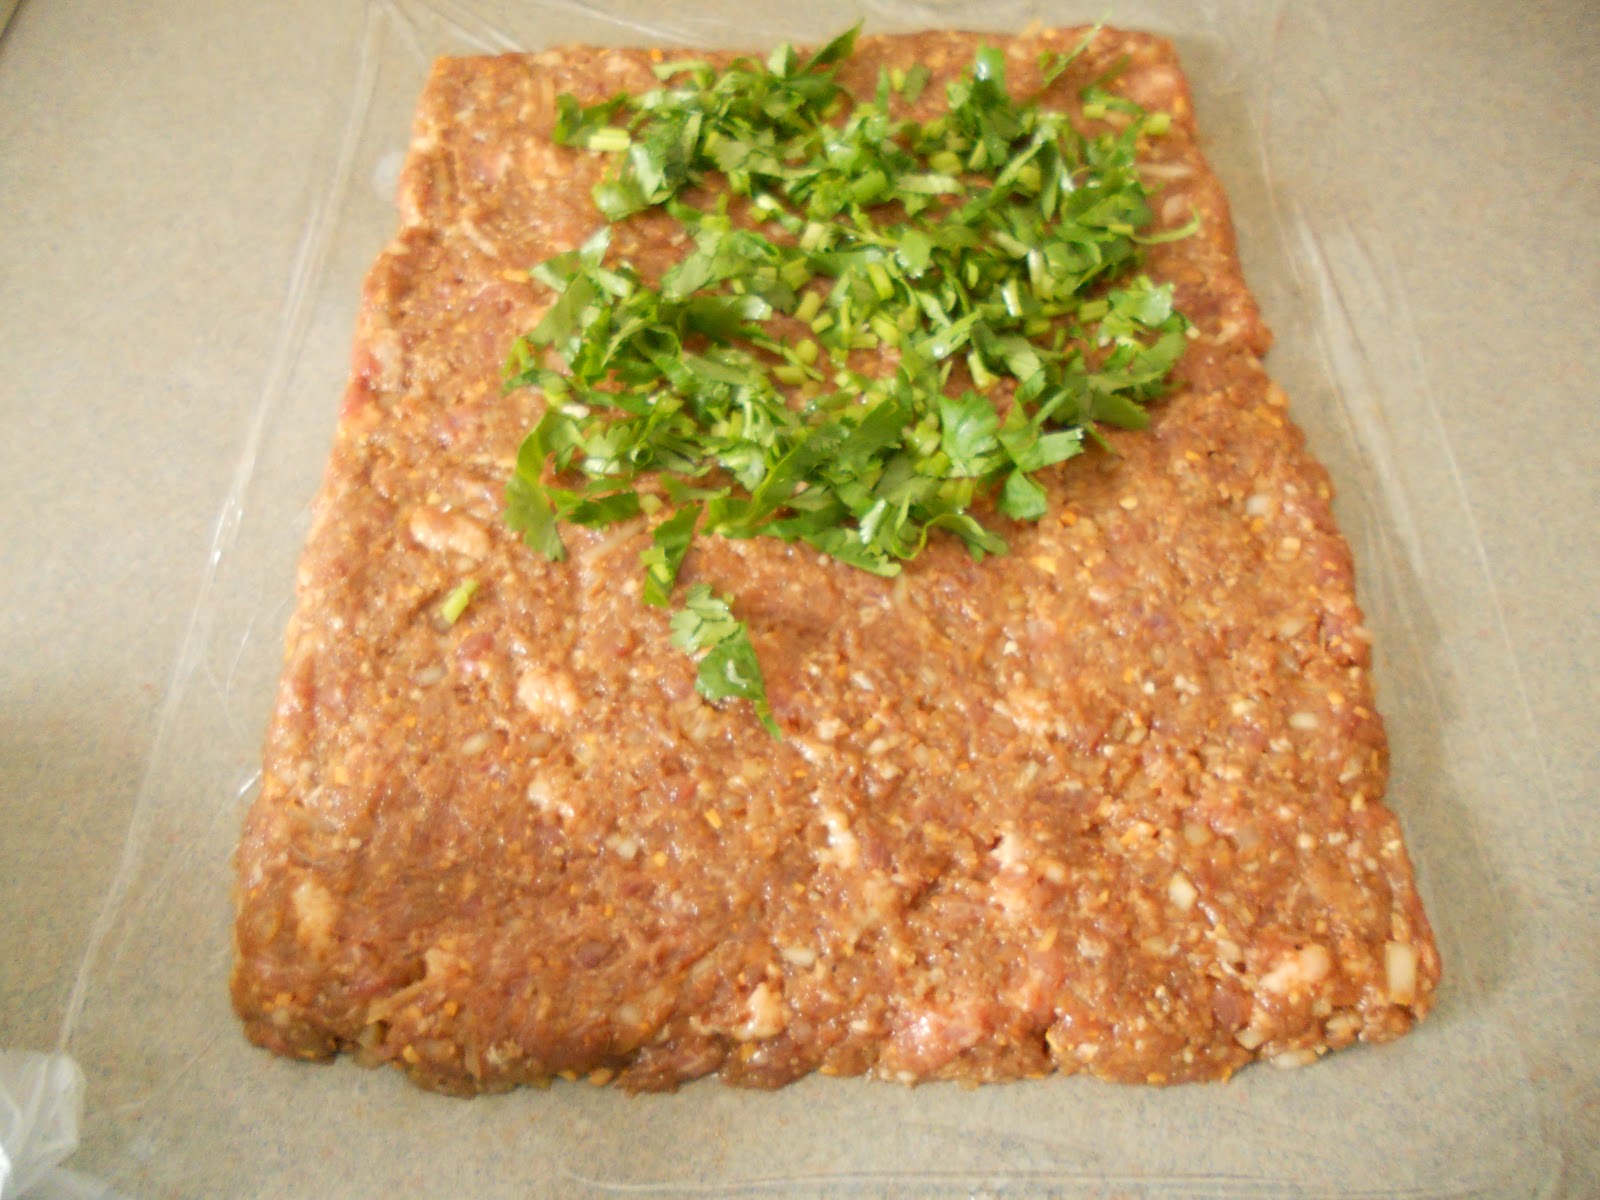
Wet the counter top with a damp cloth, and place the plastic food wrap on it.This is to prevent the plastic from moving around. Spread the meat mixture into a rectangular shape.


Arrange the filling (please chop the spinach smaller, I made a mistake by not chopping smaller, it was difficult to cut when it is cooked). There are no rules on which ingredient comes first.
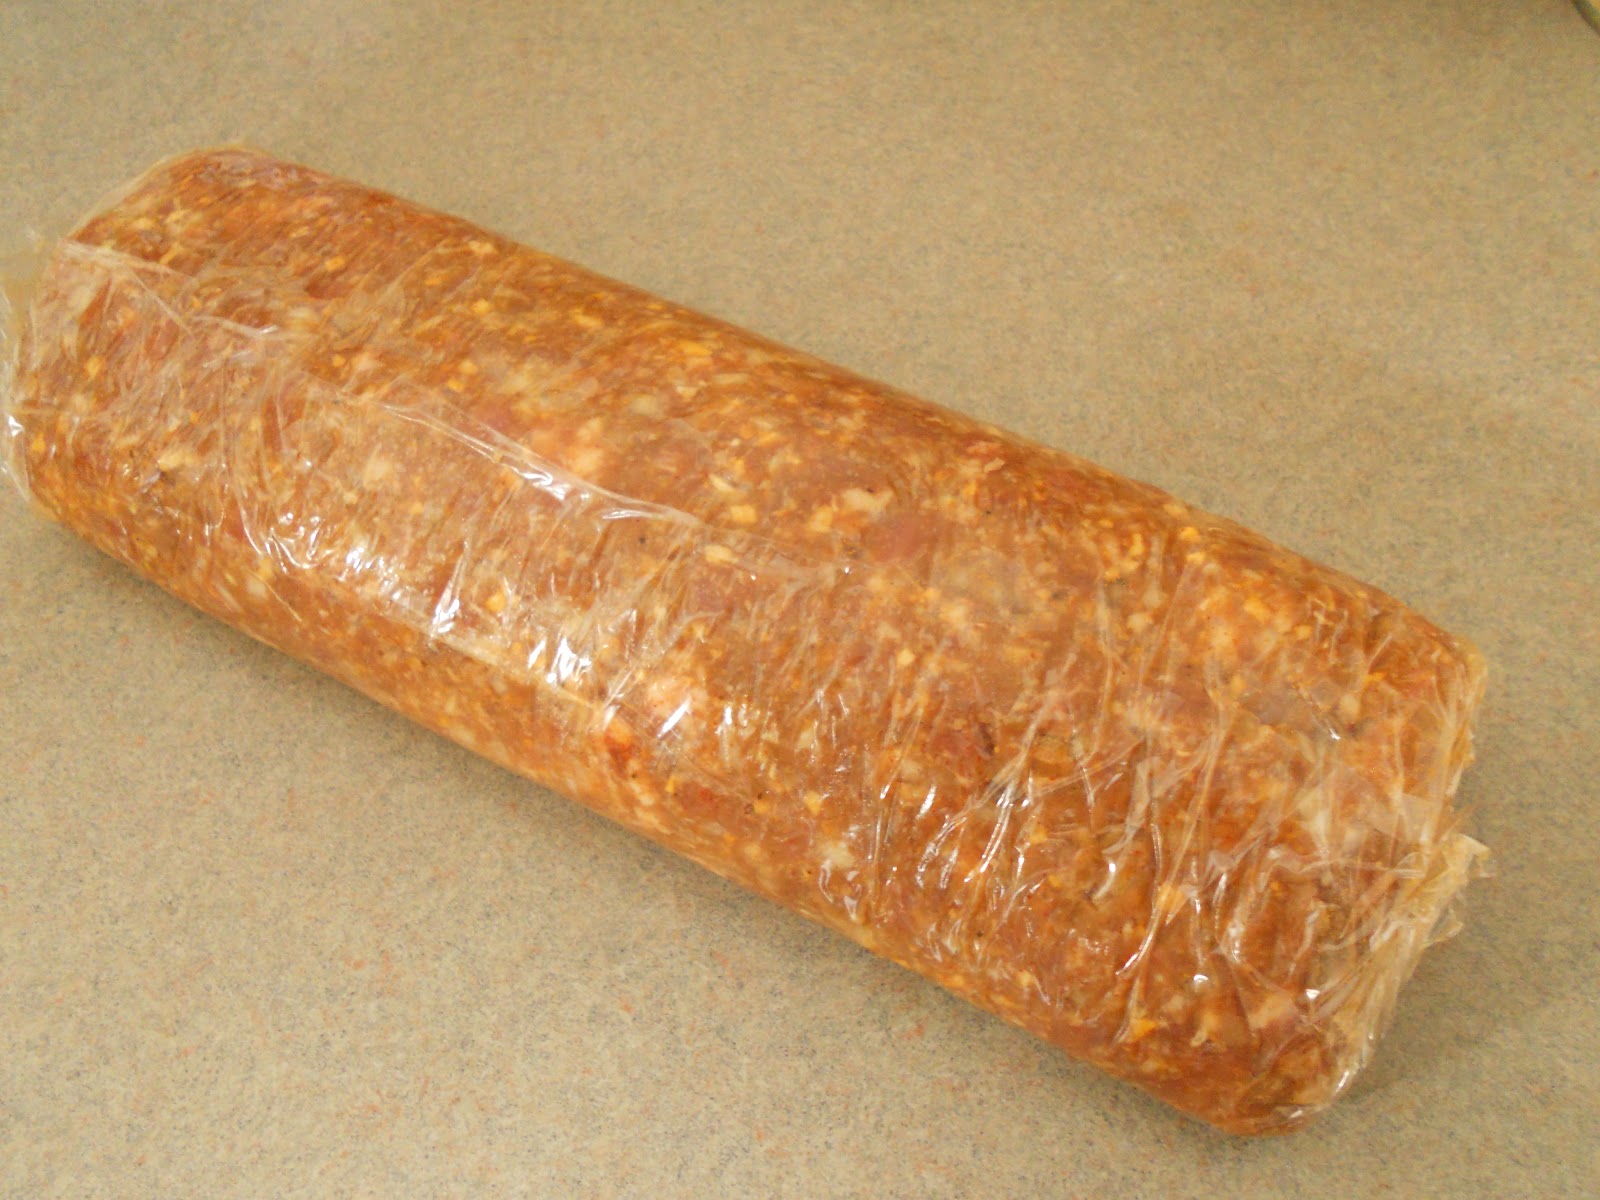
Once all the fillings are in, carefully use some of the plastic wrap to fold half of the meat over the other half, carefully seal all the filling inside the meat. Then pull the other side of the plastic up and wrap up the whole meat. See picture on the left.

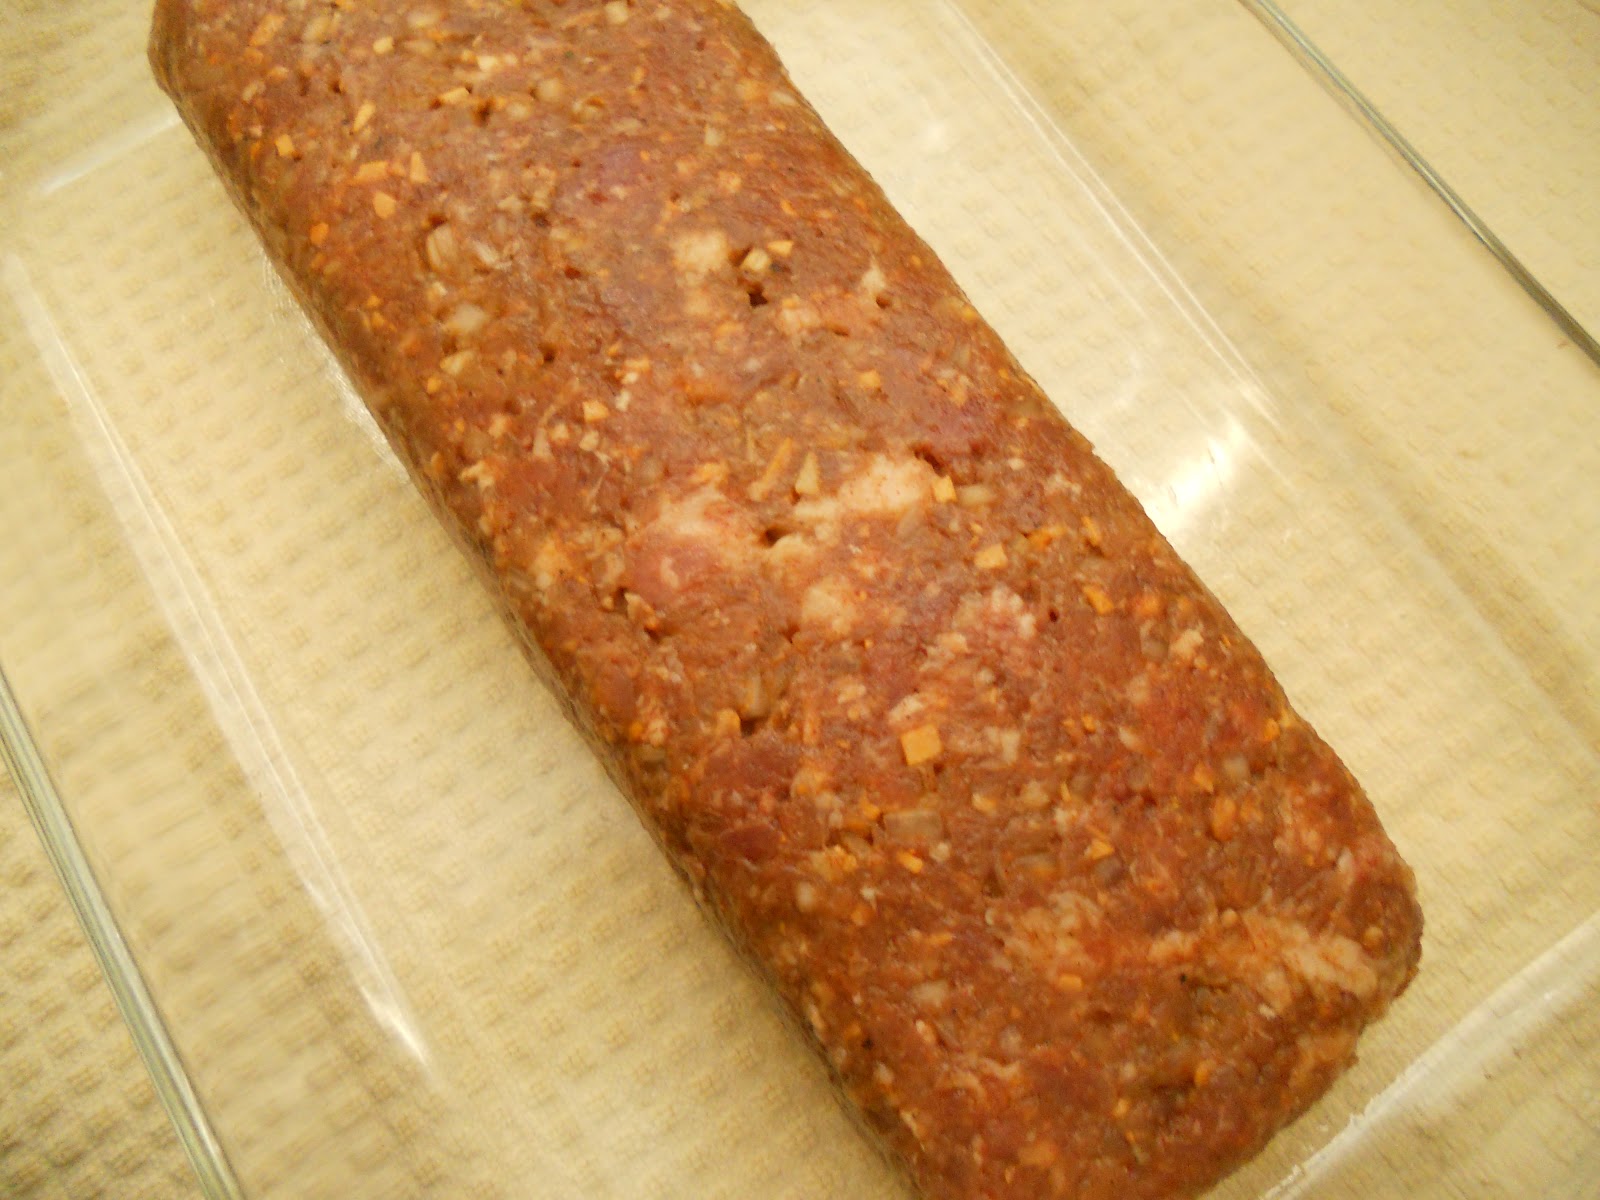
Refrigerate for an hour or more to firm up and maintain the shape of the meat.


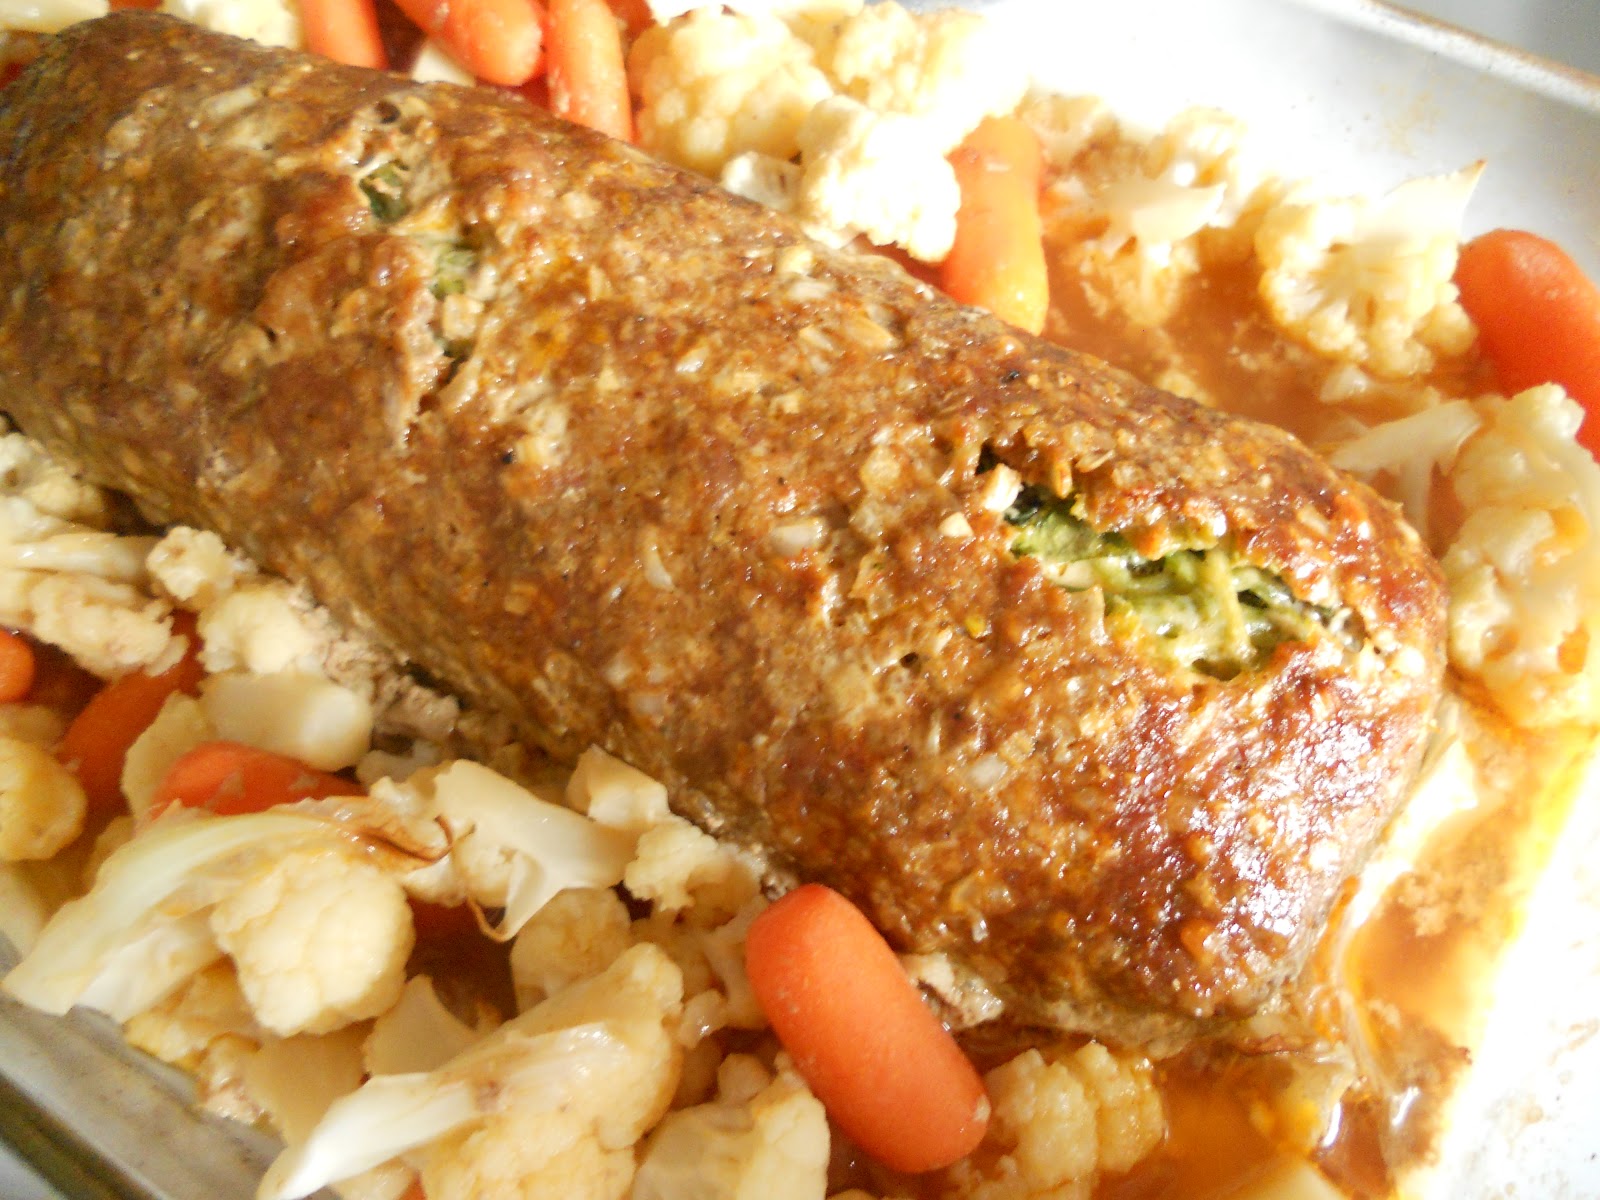
Preheat Oven to 350°F and bake for an hour or  until the kitchen meat thermometer reaches 170°F. It does not require more time to bake as fillings are vegetables and the meat is not thick. 1/2 hour before it is done add baby carrots and cauliflower.


Let cool for 5 minutes, cut and serve.